Chests contain 'valuable loot' according to the official description, but exact loot tables are not publicly listed. The only confirmed story-flagged chest is the Freemen's Laboratory chest in the Streets (clean-run only). Drinks are stat-altering consumables bought from a random vendor; specific names and values are not yet published.
On this page
Chests
- Chests contain 'valuable loot' according to the official description, but the exact loot table per chest is not publicly listed.
- Documented chest examples from playtest / walkthrough coverage: the Freemen's Laboratory chest in the Streets (Stage 1) — opening it while on a clean run (Olivenia has not been forced into any prior event that removes that state) destroys the chest and later unlocks Virtual Battle Mode at the hub. This is the only chest whose contents are tied to a specific story flag.
- Chests are not guaranteed; they appear at random along the exploration bar and their contents can vary by run.
Drinks
- The official description says Olivenia can 'buy stat-altering drinks' as a random encounter. The drinks are consumable purchases rather than pickups.
- No specific drink name, no specific stat changed, and no exact magnitude is given in any available description of the game. Specific drink names, exact stat changes, magnitudes, prices, and spawn conditions are currently undocumented publicly.
- The previous game's English text describes drinks as dispensed from vending machines, but the Fates Entwined store description only says 'buy drinks' / 'drinks that change stats' without naming a vendor.
Surrounding Shop Context
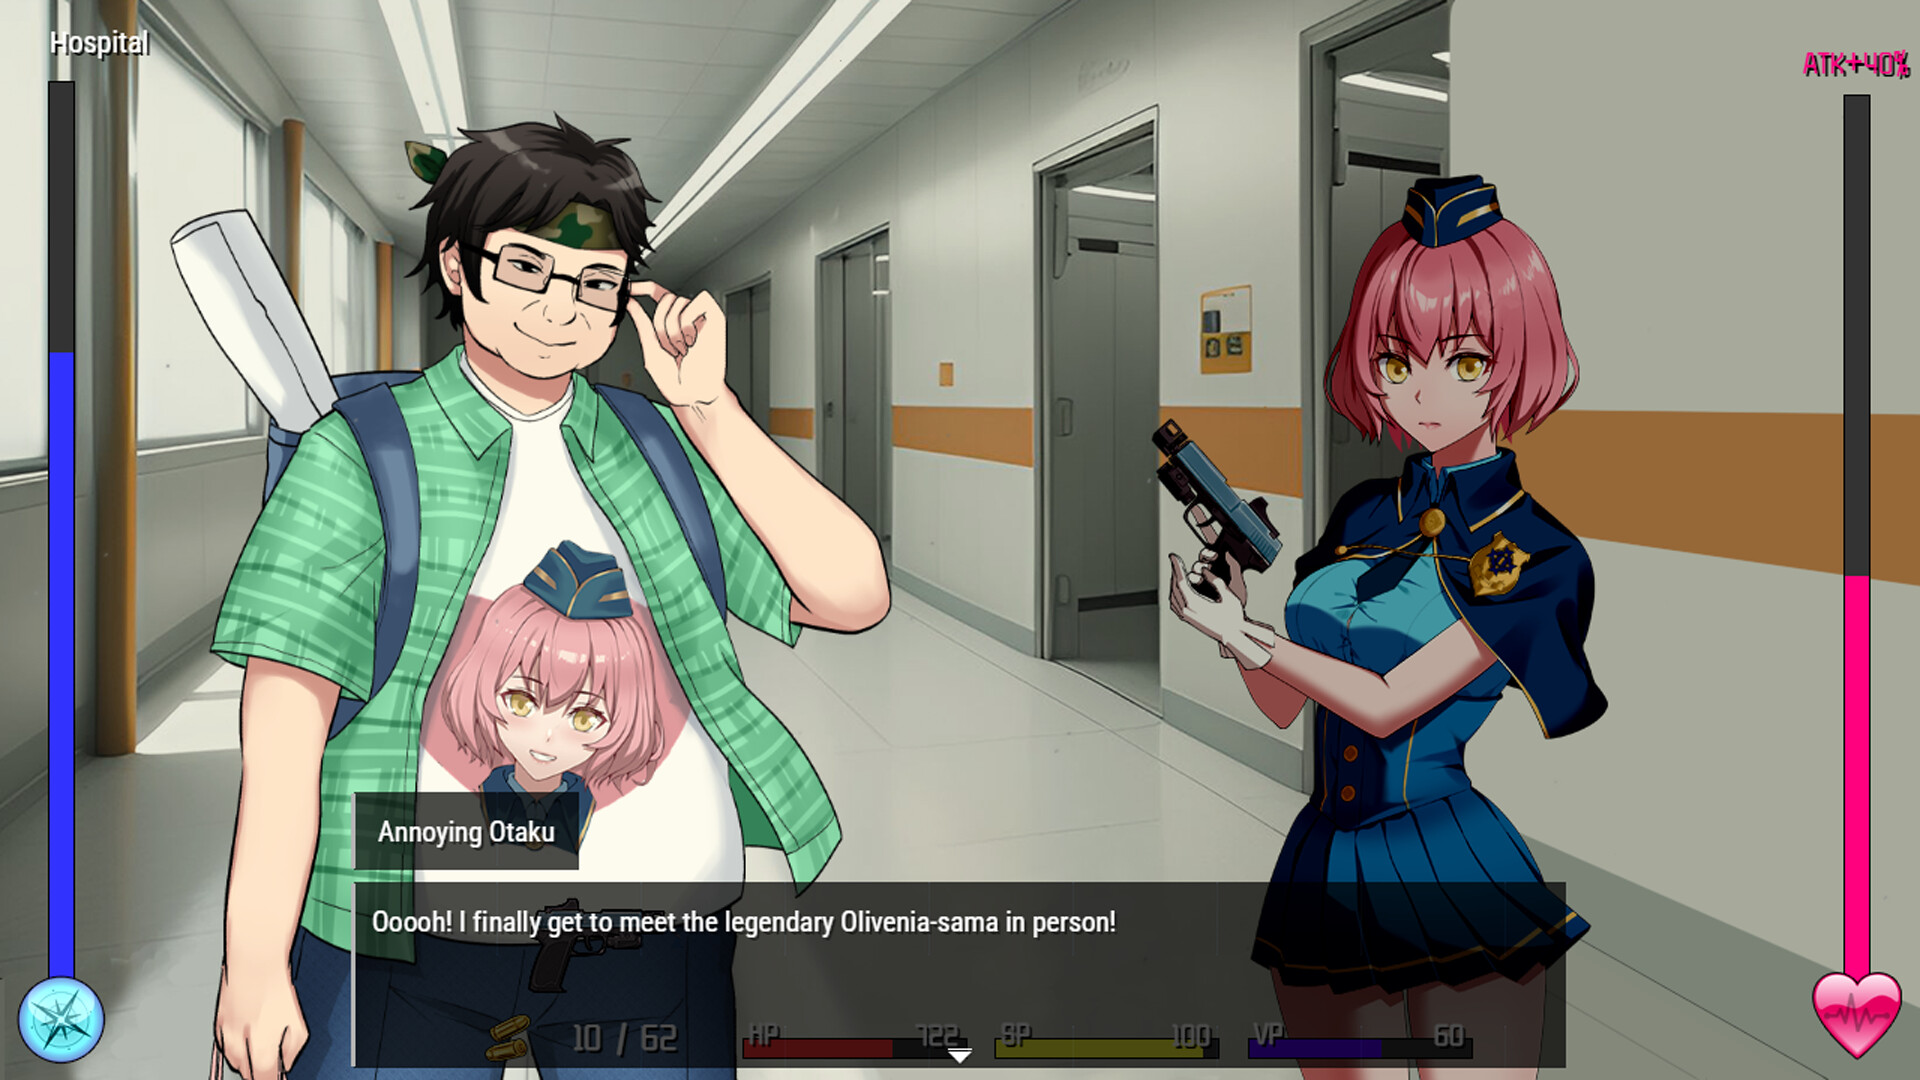
- The hub shop where Olivenia 'buys new guns, upgrades, and useful items' is guaranteed only on the first arrival at a new hub. On subsequent runs, you must randomly encounter the 'Annoying Otaku' (厄介オタク) trader NPC to buy/sell. This is the same kind of random NPC encounter as the 'Meet other characters' line of the random-event description.
- Stat-boost consumables also exist outside the random-event system: the Sewer walkthrough recommends a Stimulant (+30% damage) right before the second Sewer boss as a buffing item used outside of random events.